
Description for photometric pre-processing of images. How to create of averaged biases, darks or flat-field frames and how to apply ones on scientific images.
The preprocessing is image is absolutely necessary for any correct photometry work. The application corrects unwanted fluency of devices as zero offset, dark current or light responsibility.
More detailed description of the corrections is included in pages: Averaged bias frame, Averaged dark frame, Averaged flat-field frame and Photometric corrections.
As an excellent introduction for preprocessing, the textbook To Measure the Sky by F. R. Chromey would be recommended.
A sample data are available as munipack-data-blazar.tar.gz. Use commands
$ cd /tmp/
$ tar zxf munipack-data-blazar.tar.gz
to unpack it to a desired directory. We will assume that the sample data are unpacked to /tmp directory as /tmp/munipack-data-blazar.
The sample dataset includes an observation of this blazar together with correction frames (flat-fields and dark-frames).
| Description | Filemask | Exposure |
|---|---|---|
| scientific images | 0716_[1-9]R.fits | 120 sec |
| dark-frames of scientific images | d120_[1-7].fits | 120 sec |
| flat-fields | f10_[1-9]R.fits | 10 sec |
| dark-frames of flat-fields | d10_[1-9].fits | 10 sec |
As a first important step, we will create a working directory. For example, create directory /tmp/munipack-data-blazar and switch to by the command:
$ mkdir /tmp/work
The name does not matter. It is highly recommended to use a new empty directory to prevent any lost of data (especially of original images!).
Some functionality of preprocessing tools requires correct setting of FITS header keywords. The keywords are preset, but sometimes local conventions are different. Therefore there are available some environment variables for individual tuning.
It is recommended to set the variables by the way in your bash shell as the initial step (modify by your needs):
$ FITS_KEY_FILTER='FILTER'
$ FITS_KEY_EXPTIME='EXPTIME'
$ FITS_KEY_TEMPERATURE='TEMPERAT'
$ FITS_KEY_DATEOBS='DATE-OBS'
$ MUNIPACK_TEMPERATURE_TOLERANCE=1 # Celsius degree
$ MUNIPACK_EXPTIME_TOLERANCE=1e-6  # seconds
$ export FITS_KEY_FILTER FITS_KEY_EXPTIME FITS_KEY_TEMPERATURE FITS_KEY_DATEOBS
$ export MUNIPACK_TEMPERATURE_TOLERANCE MUNIPACK_EXPTIME_TOLERANCE
To avoid need of repeated typing of the keywords, add these commands to your ~/.bashrc profile.
To create an average dark frame for scientific exposures, run the command:
$ cd /tmp/work
$ munipack dark -o d120.fits /tmp/munipack-data-blazar/d120_*.fits
$ ls d120.fits
d120.fits
Munipack is invoking the module dark intended to average of images specified as the last argument. The asterisk matches all images begins with d120_ together and ending with the suffix .fits. The processed mean is stored as d120.fits.
Averaging uses a robust mean method by default. It reduces of fluency of cosmic-rays and similar single-frame defects on final products. On other side, it requires much more computer resources than simple averaging by the arithmetical mean (switch -a)
Note that, this step can be omitted (a single dark frame can be used only), but one is preferred from a statistical point of view. The result image is frequently called as master-dark.
Because flat-fields are light frames similar to scientific frames, ones needs similar preprocessing. Especially, we must correct its for dark frames.
So, the first step is preparation of the dark with 10 s of exposure times for flats
$ munipack dark -o d10.fits /tmp/munipack-data-blazar/d10_*.fits
The exposure times must be exactly the same for both darks and flats.
With this dark we can easy create the averaged flat as:
$ munipack flat -o f_R.fits -dark d10.fits /tmp/munipack-data-blazar/f10_*R.fits
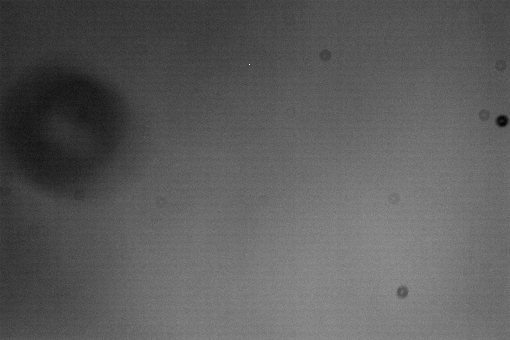
The internally corrected flat-fields are scaled by its mean intensity and its dispersion to a unified output level. A robust mean is made on the uniform scaled flats and an output flat is stored as f_R.fits.
The key feature of flat is the scaling and a robust mean of single flats. The procedure is pretty effective for short series of the twilight sky's exposures when brightness rapidly decrease. Also, a long over-night series of non-identical fields (like many blazar fields) will produce excellent results.
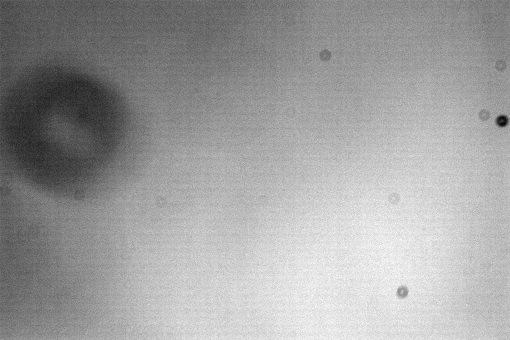
Original scientific images can be corrected for dark-frames by running:
$ munipack phcorr -t . -dark d120.fits /tmp/munipack-data-blazar/0716_*R.fits
phcorr action subtracts, the previously created mean-dark d120.fits given as a first non-optional argument, from every scientific exposures of 0716+71 and newly created images will be stored in the current working directory (given by option -t . (tee and dot!) with image names identical to original ones.
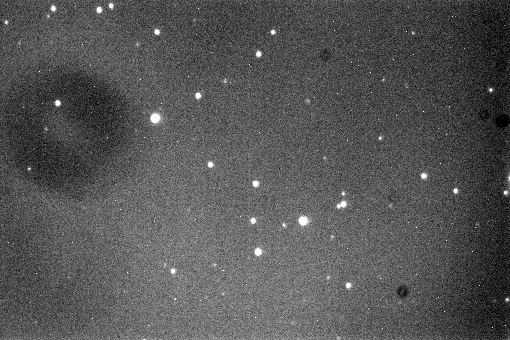
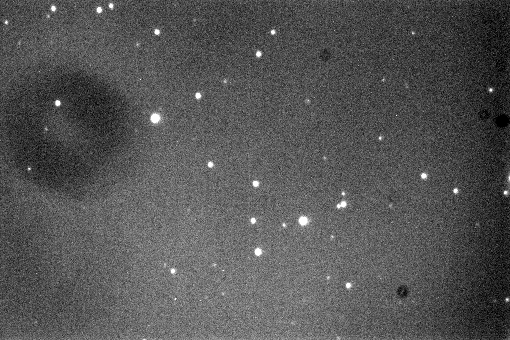
By analogy of dark correction, scientific images (subtracted for dark) can be corrected for flats by
$ munipack phcorr -t . -flat f_R.fits /tmp/munipack-data-blazar/0716_*R.fits
We can see that the current directory images are used.
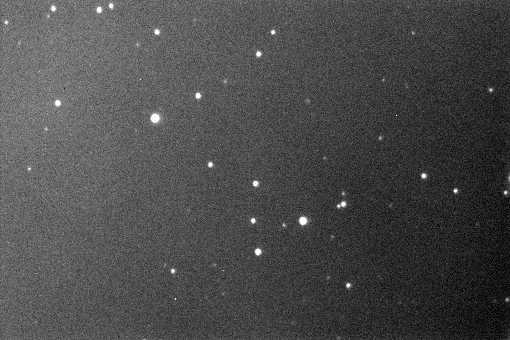
For convenience, both correction can be appplied together
$ munipack phcorr -t . -flat f_R.fits -dark d120.fits /tmp/munipack-data-blazar/0716_*R.fits
Manuals: Bias, Dark, Flat-field, Photometric corrections.